(Fig2)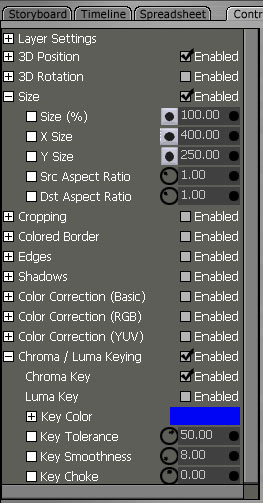 |
Start with a fresh project in VTEdit. Drag your base background in (ie Studio31_VT5_NTSC_0001.tga)
to the top track in the timeline, stretch this out to the amount of time
you want the angle to last for (ie 5 seconds). Next drag in your unkeyed
talent and place it right below the background virtual set angle. Next get
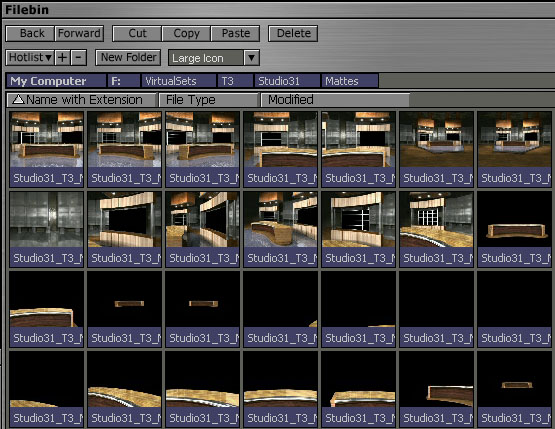
the foreground out of the mattes bin, if you used angle 1 for the background
make sure you get FG_0001.tga for the foreground. You should now have your
three clips all in a verticle column on the timeline.
Now lets do the settings that will turn this into a virtual set. Select
the bottom clip which should be your foreground by clicking on it, at the
bottom of the editor check the Overlay button, this will turn on it's embedded
alpha channel and reveal your chromakey footage underneath. Select the chromakey
footage by clicking on it and turn on overlay. Then go into the Control
Tree and turn on chromakey and set the chromakey color to that of the background,
make any other adjustments to the key settings to get a good key. Also you
may want to adjust the size and position settings to make the talent fit
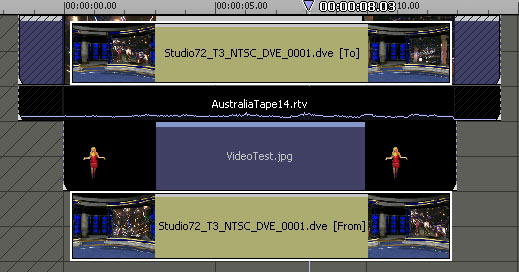
correctly into the set (Fig2). Your finished timeline layers should look
like Fig(3).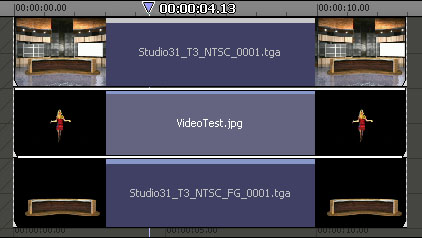 |
|